Customize languages in AEM 6.2

Adobe Experience Manager is completely flexible and can be configured for any language. AEM inherently understands all ISO language codes, both 2 letter locales (en, fr, de) as well as 5 letter locales (en-US, fr-FR, de-DE).
Language codes play most important role while you create and translate site in multiple languages. As per W3C standards, you should use dashes in the locale codes when they are part of the url structure, like de-de, fr-fr etc. For reference, see Language tags in HTML and XML.
In AEM 6.2 when you create language copies using the References Panel, you will be able to create sites with language codes that have dashes in the language codes. However, when you try to translate those pages using Translation Projects, you will not be able to create Translation Projects, if the language codes do not match the ones in the Translation Project.
Translation Projects in AEM come with a list of preconfigured languages and associated language codes, however these codes do not follow the W3C standards. If you are curious, you can find the list of languages here: /libs/wcm/core/resources/languages. If you wish to change this list, either for adding more languages or use W3C standard locales for the same languages, you would need to make modifications to this list. As we all know, we should never change anything under /libs. What we should instead do is, override the list in /apps.
In the following step by step procedure, I will walk you through how to override languages in AEM Projects.
Prerequisite:
Before we go ahead with the procedure, you will need to patch to AEM 6.2. Please download cq-6.2.0-hotfix-11808 from Package Share and install it in your instance.
OOTB languages in AEM Projects:
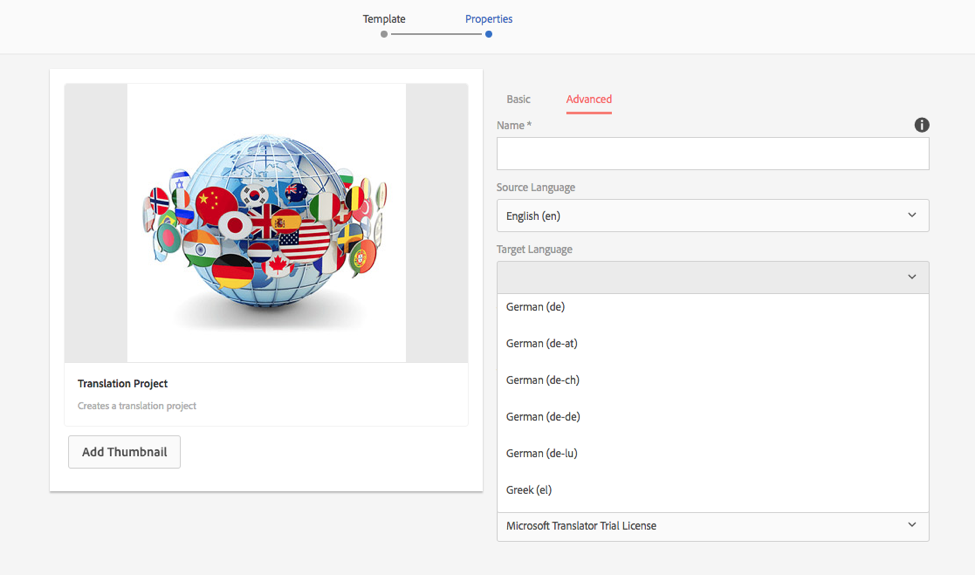
The list of available languages can be seen in the advanced properties tab of Translation Project.

Picture1.png

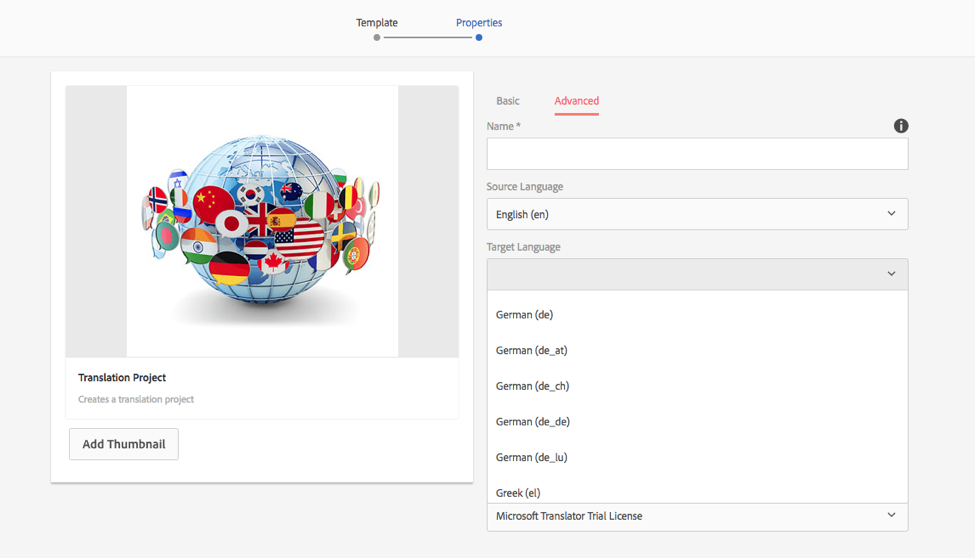
As you would see, all the language codes are dashes.
We are going to make two changes:
Change underscores in language codes (de_de) to dashes (de-de)
Add an additional Indian language. We will add Punjabi (pa) a language commonly spoken here at our office.
Steps:

  • In order to make these changes, we will need to make changes in CRXDE.
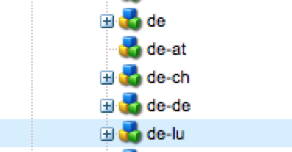
  • Open up CRXDE (http://localhost:4502/crx/de/index.jsp) and then browse to /libs/wcm/core/resources/languages
  • Here you will see the list of languages that you see in the Translation Project. The language list is sorted by language code and not language name.
  • Please note: DO NOT MAKE CHANGES in this list. /libs is restricted and the changes can be overwritten by AEM installers.
  • We will override this list in /apps. We will follow the same path as in libs, but just replace libs with /apps.
  • Browse to /apps/wcm in CRXDE. You would observe that we do not have a core folder under wcm. We will need to recreate the rest of the structure.
  • Create a new folder names core, under /apps/wcm, and Save All.
  • Now we will go back to the resources folder under /libs. Browse to (/libs/wcm/core/resources). Select resources node and Copy it.
  • Now browse back to the core folder under /apps (/apps/wcm/core); select core and paste the copied content here and then Save All.
    Note: In case you see an error, it is because you have not saved the core folder, that we created in the previous step.
  • Next, we will iterate over all the language nodes and replace underscores “_” with dashes “-”, do that “de_de” will be replaced with “de-de”.
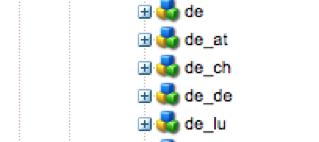
Picture2.pngPicture3.png

BEFORE                                                                             AFTER

  • Next, we will add the additional Indian language Punjabi (pa). For doing so we will need to create a new node and name it pa.
  • The node will get added at the bottom of the languages list. Once the node is created, add two properties, both of string type, language and country, as shown below:

Picture4.png

  • Save all the changes and restart AEM.
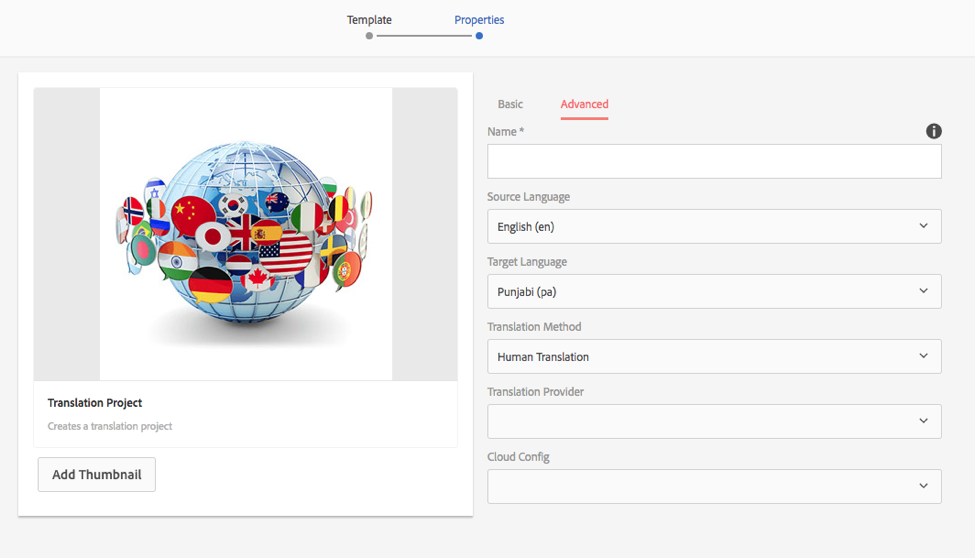
  • Now when you create a new project, you shall see the updated list of language codes, with dashes instead of underscores.

Picture5.png

  • You will also be able to see the newly added language: Punjabi

Picture6.png

Hence using this procedure, you can update the list of languages as well as codes in Translation Projects. If you have any questions, I would love to have conversation with you. You can always reach me out on my email <prafful.jain@gcell.in>.

About Me:
I am the CTO of the Digital Marketing practice at GCell. I have spent my last 15 years, building as well as customizing various Content Management and Marketing Publishing Solutions. I have deep interest in Digital Marketing. Apart from helping multiple marketing teams execute on their strategy, I have also helped them measure effectiveness of marketing, using data driven technologies and analytics. If you have a need in any of these area, I would love to have a conversation with you.

Multi-root Launches

Today, I will talk about a multi-root Launches, which is key enhancement to Launches feature in AEM 6.2. I am also happy to share that I got a chance to contribute to this features. Launches, have been around for a while, and are widely used. Now AEM core features like Translation workflows have started to leverage Launches as a staging area for working on translations before they replace the actual content. Based on the customer and internal feedback, we identified two key shortcomings in Launches and we worked on those in AEM 6.2 under guidance from Gilles Knobloch, Mathias Siegel and Akshay Madan at Adobe. They being:

  • Multi-root launches.
  • Promoting only changed pages in a Launch.

Multi-root Launches

Prior to AEM 6.2, when you created a launch, you had to create a copy of the complete branch. You did not have the option to select a few sub sites and work on those. This has been completed revamped in AEM 6.2. Firstly, you can select, multiple pages (including sub pages) at the same level and create a Launch. In addition, you can also add other pages (including sub pages) at a very different level using the “Create Launch Wizard”.

Let me explain this feature using the Geometrixx sample. Let us say that for the next update, we want to work only on three sections in the website – Products, Services and Press Center. As you are aware, Products and Services are at the same level, however Press Center is at a very different level.

We will create a Launch to have just these three branches. Firstly, select both Product and Services and select Create > Launch.

create_launch_en.png

This will open up the Create Launch Wizard and will have these two sections of the website in there.

create_launch_wizard.png

Next, Select “+ Add Pages” and browse to the Press Center. Select it and add it.

create_launch_add.png

This will add Press Center as an additional root in the Create Launch Wizard. The three roots being, Products, Services and Press Center. Products and Services were at the same level, but Press Center is at a different level.

create_launch_wizard_2.png

Select Next to view Properties and set the Properties.

create_launch_properties.png

Using this dialog, you can also change the template as well. Very useful, when you want to update the look and feel of the website.

Clicking on Create will create the Launch, and it will have only the selected roots (branches as part of the Launch).

Under the hood:

Let’s try to see the structure of the newly created Launch. Unfortunately, you can’t browse launches structure in Sites Admin (I don’t know why, Adobe can you please enable this), hence we shall see it in CRXDE.

crx.png

As you will see there are three sources, and only the selected content is added in the Launches. Make sure to observe that there is only Press Center content under Company.

Alternately, you can see the structure using Path Browser (from Create Launch Wizard)

path_browser.png

Promoting only changed Pages:

In the first enhancement, we saw that starting AEM 6.2, you can create a Launch with a smaller scope, with only those sections that you are going to update. However, not all pages in a launch get updated. The next enhancement is targeted at solving that problem. While promoting a Launch, the new default option is to promote only the changed pages. This is a very useful enhancement as it reduces the number of pages that need to be promoted.

Let’s look at this enhancement in action using the launch that we created while explaining multi-root Launches. We will go ahead and update the Products Page, add a new page in Products section (hexagon) and also update Services Page. What we are not doing is going to edit in the Press Center section. This is a common scenario where you think that you are going to update something, but then plans change, and you do not update a section anymore. In such cases, this enhancement helps us remove any of the content that is not updated.

Once you have made edits, let’s go ahead and promote pages.

launch_promote.png

As you see in the screenshot above, there are four options under Scope. The default option selected is “Promote modified pages”. This option will only promote the pages that have been modified after the Launch was created. Let’s look closer at all the four options:

  • Promote full Launch
    This option will promote all the pages in a Launch, irrespective of the fact of they were modified or not.
  • Promote modified pages
    This option will promote only those pages in the Launch that have been modified after the Launch was created.
  • Promote current page
    There are several ways in which you can invoke Promote. Using the “References Panel” you can invoke the action to Promote a page from any page that is part of the Launch. In such cases, you can select to promote only selected sections of the Launch. If you invoke Promote action from within a page of a Launch, using this option, you can go ahead and promote only the selected page.
  • Promote current age and sub pages
    This option builds on the previous option. Using this option, we can go ahead and promote a page that is part of the Launch along with it’s sub pages.

Let’s try these options one by one on our Launch. Remember, the changes that we did. Here is a summary:

  • Products
    • Updated Products Page and added a new page – hexagon
  • Services
    • Updated Strategic Consulting page
  • Press Center
    • No changes.

Option1 (default): Promote only modified pages.

When you select these options, you will see that it will list only those pages that we modified. The three pages that we listed above:

promote_modified.png

Option 2: Promote full Launch

Selecting this option, will promote all the pages in the Launch. So it will list all the pages in the Launch whether you modified it or not.

promote_full.png

Options 3: Promote current page.

In this scenario, we will set the context to be “Services” and try to Promote Pages.

promote_current.png

Option 4: Promote current page and all sub pages

With the same context, we will use the last option.

promote_subpages.png

What is important to note is that, there is no optimization regarding which pages to update. It will update current page and all the subpages irrespective of the fact if they were modified or not.

Hopefully this was useful. Look forward to hearing comments.

Hello World!

Hello World!! That’s how nerds start anything. By now you know that we are a bunch of nerds who believe in creating delightful digital experiences. In this blog, we want to not only cover the technical details, but also end customer experiences, best practices, learning’s from pilots etc. We would also like to learn from your experiences. So, I encourage you to start a conversation by posting a comment below.

Before I go any further, let me introduce myself. I am Praffull Jain, an engineer by education and digital marketer by profession. I have spent last 13 years working on content management systems, personalization and digital marketing. I have also invited my team to contribute to this blog. Hence you would see posts from other as well.

I work very closely with Adobe on architecting and developing Translation features in Adobe Experience Manager, the product itself. It is quite interesting how Adobe has made translating websites simple in Adobe Experience Manager. In addition, I also work with another team at Adobe that manages the Support and Help portal at Adobe (helpx.adobe.com). We are doing some nifty things around personalization and reinventing customer experience.

I also wanted to talk a little about the name of this blog. It is inspired from a blog that I read religiously. It is the one that original DAY team (creators of Communiqué aka Adobe Experience Manager) managed – experiencedelivers.com

Well, I am excited to have finally had this platform, which I plan to use to learn and interact with others who share the same passions – reimagining digital customer experiences.